Are you ready to say goodbye to stubborn acne and hello to clearer skin? PRP acne treatments offer an innovative way to address acne and improve overall skin health. PRP stands for Platelet-Rich Plasma, a component of your blood that has regenerative properties. By using your own blood, this treatment promotes natural healing and rejuvenation, making it an ideal choice for those looking for an effective and natural acne remedy.
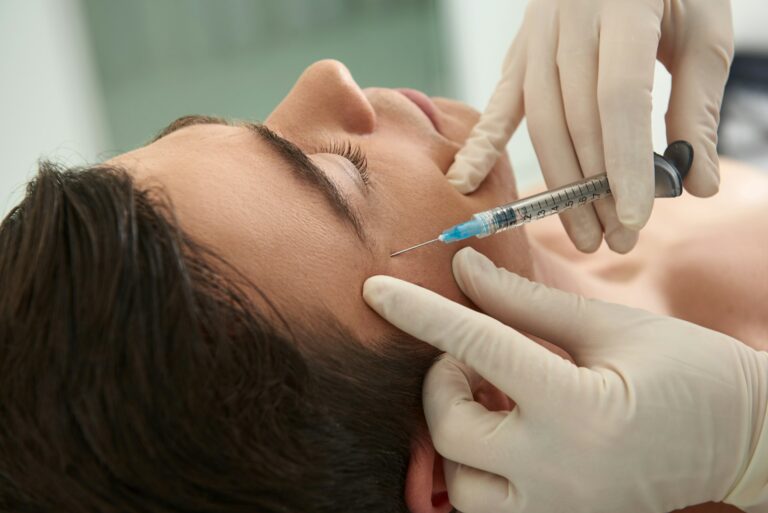
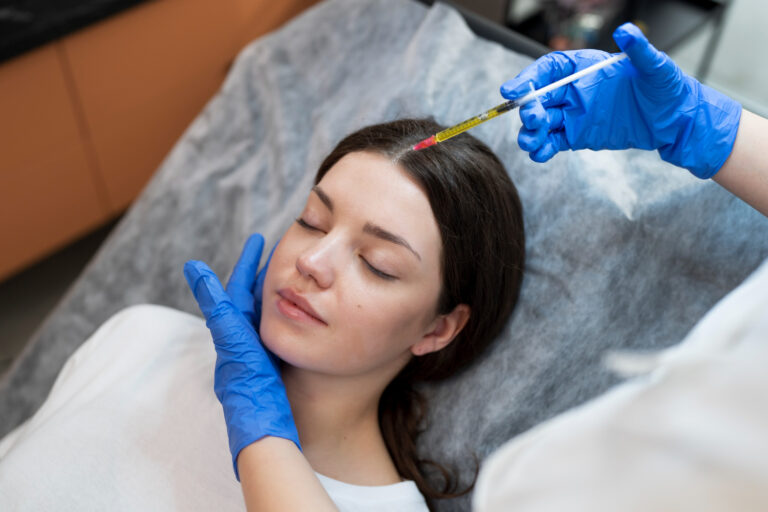
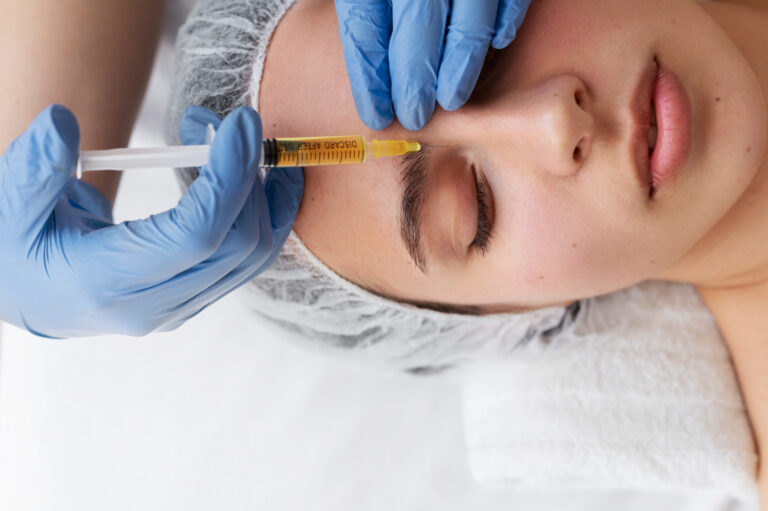
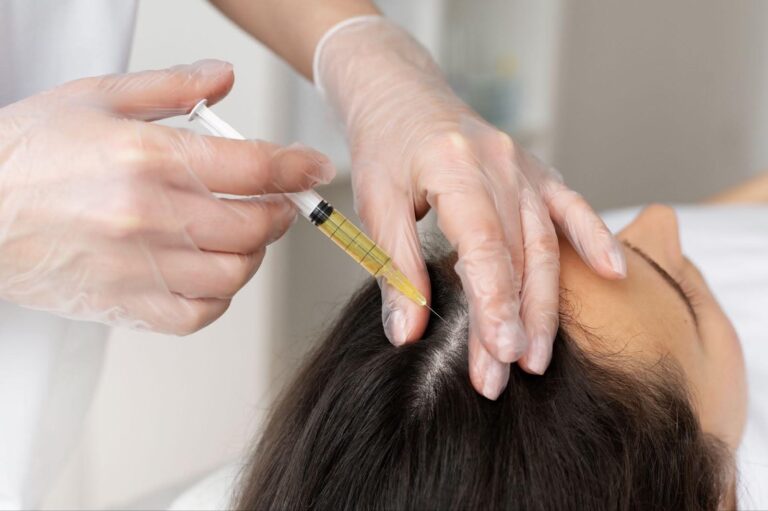
During a PRP acne treatment, a small sample of your blood is drawn and processed to concentrate the platelets. These platelets are then injected or microneedled into areas affected by acne. The concentrated platelets release growth factors that help to repair damaged skin, reduce inflammation, and stimulate collagen production. The result is smoother, clearer skin with reduced acne and scarring.
In this article, I’ll walk you through everything you need to know to prepare for your first PRP acne treatment. From the initial consultation to what you can expect during the treatment session and how to care for your skin afterward, I’ll cover all the essentials. Whether you’re new to PRP treatments or just looking for a fresh approach to managing your acne, this guide will help you make the most of your experience and achieve the best possible results.
Understanding PRP Acne Treatments
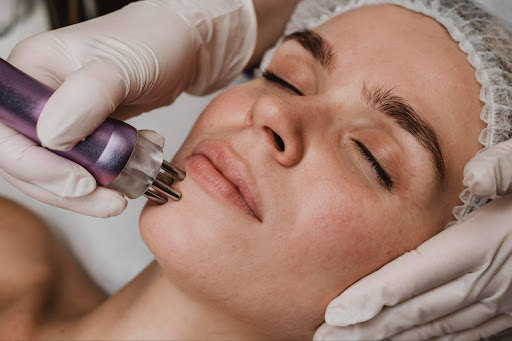
PRP acne treatments harness the healing powers of your own blood to improve your skin’s health and appearance. PRP stands for Platelet-Rich Plasma, a component extracted from your blood that is rich in growth factors. These growth factors help accelerate the body’s natural healing process, making PRP a powerful tool in treating acne and acne scars. During the treatment, a small sample of your blood is drawn and placed in a centrifuge to separate the platelets from other blood components. The resulting PRP is then applied to your skin through microneedling or direct injections.
The magic of PRP lies in its ability to promote tissue regeneration and reduce inflammation. When PRP is applied to areas affected by acne, it helps to soothe irritated skin, minimize redness, and encourage the growth of healthy new cells. This process not only tackles active acne but also enhances your skin’s overall texture and tone. Over time, regular PRP treatments can lead to clearer, smoother skin with fewer breakouts and diminished acne scars. This makes PRP acne treatments an excellent choice for anyone looking to achieve long-lasting skin health and radiance.
Initial Consultation and Preparation
The journey to clearer skin begins with an initial consultation. This is a crucial step where you meet with a skincare professional to discuss your skin concerns and treatment goals. During the consultation, the practitioner will assess your skin type, examine the severity of your acne, and determine if PRP therapy is suitable for you. They will also take a detailed medical history to ensure that there are no contraindications for the treatment. This is the perfect time to ask any questions you may have about the procedure, possible side effects, and expected outcomes.
Once you’ve decided to proceed with PRP acne treatment, there are some important steps to take in preparation for your session. Here’s a simple checklist to follow:
1. Avoid Blood Thinners: Refrain from taking aspirin, ibuprofen, or other blood-thinning medications for at least a week before your appointment. These can increase the risk of bruising during the procedure.
2. Stay Hydrated: Make sure to drink plenty of water in the days leading up to your treatment. Hydrated skin responds better to PRP therapy, enhancing the overall results.
3. Skip Alcohol: Avoid consuming alcohol for at least 24 hours before your session, as it can thin the blood and contribute to bruising.
4. Sun Protection: Minimize sun exposure and avoid tanning beds for a few days before the treatment to ensure your skin is in its best condition.
5. Clean Skin: On the day of your treatment, ensure your face is clean and free of makeup. This helps prevent any potential infections and allows for a smoother procedure.
Following these preparation guidelines will help you achieve the best possible outcomes from your PRP acne treatment and set the stage for clearer, healthier skin.
The PRP Acne Treatment Session
When you’re ready for your first PRP acne treatment session, it’s natural to feel a mix of excitement and nerves. Knowing what to expect can help you stay calm and comfortable. The session begins with a quick blood draw, similar to a routine blood test. This sample is then placed in a centrifuge to separate the platelet-rich plasma from the rest of the blood components. This process usually takes about 10-15 minutes.
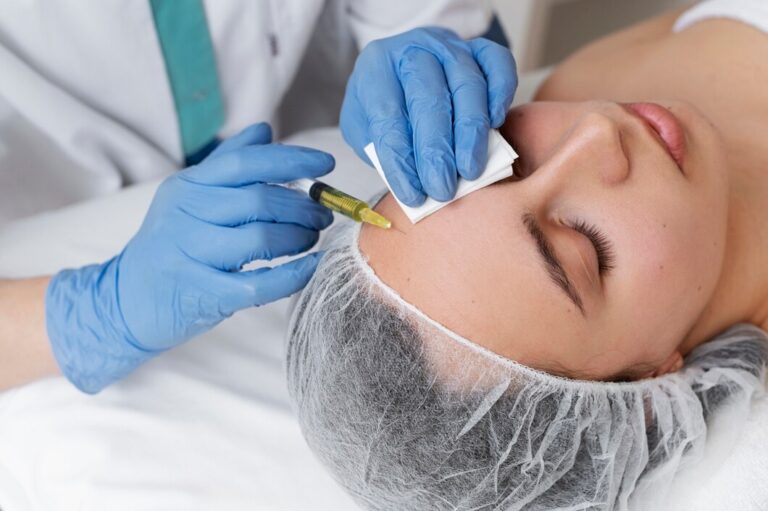
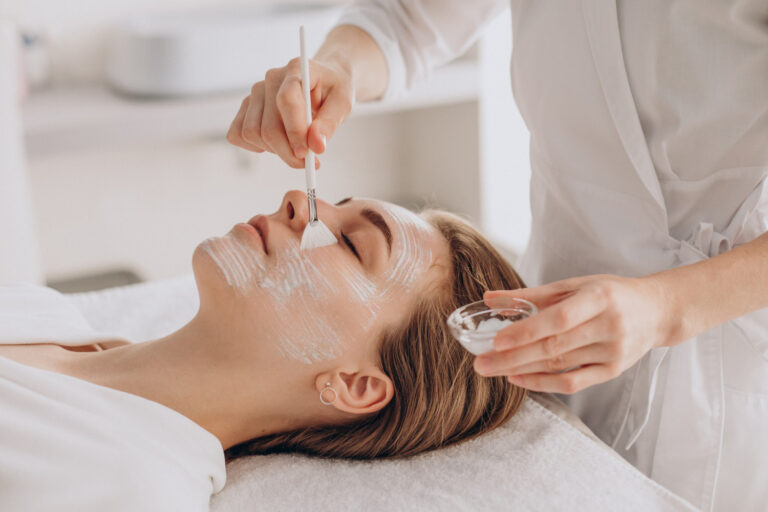
Once the PRP is prepared, the practitioner will cleanse your skin and may apply a numbing cream to minimize any discomfort. Depending on your skin’s needs, the PRP is either injected directly into the areas affected by acne or applied to the surface of your skin and then microneedled in. The microneedling process creates tiny channels that allow the PRP to penetrate deeply and work its magic. The entire procedure typically lasts about an hour.
Here are some important things to remember during your session:
– Stay Relaxed: Try to relax and stay calm throughout the process. Trust your practitioner and the science behind PRP.
– Communicate: If you feel any discomfort, let your practitioner know immediately so they can make adjustments.
– Follow Instructions: Listen to any advice or aftercare instructions given during the session to ensure the best results.
Post-Treatment Care and Follow-Up
Proper aftercare is crucial to maximize the benefits of your PRP acne treatment. Immediately after the treatment, you might experience some redness, swelling, or minor bruising. These symptoms are normal and typically subside within a few days. Your practitioner will provide specific aftercare instructions, but here are some general guidelines to follow:
1. Avoid Touching Your Face: Keep your hands away from your face to prevent any potential infection.
2. Skip Makeup: Avoid applying makeup for at least 24 hours post-treatment to allow your skin to breathe and heal.
3. Sun Protection: Use a broad-spectrum sunscreen to protect your skin from UV rays. This helps prevent any potential pigmentation issues.
4. Stay Hydrated: Drink plenty of water to support your skin’s healing process from within.
Follow-up sessions are often recommended to achieve the best results. Typically, a series of treatments spaced a few weeks apart yield the most significant improvements. Maintaining a good skincare routine between sessions is also vital. Use gentle cleansers, moisturizers, and avoid harsh exfoliants or products with strong active ingredients unless advised by your practitioner.
Conclusion
Getting ready for your first PRP acne treatment session involves understanding the process, preparing adequately, and following proper aftercare. PRP treatments offer a natural and effective way to combat acne and rejuvenate your skin. By using your own blood’s healing properties, PRP helps reduce inflammation, promote collagen production, and improve overall skin health.
By following the steps outlined in this guide, you can make your PRP acne treatment experience smooth and successful. Clear skin is achievable, and with regular treatments and proper skincare maintenance, you can enjoy long-lasting results. Ready to take the next step towards clearer, healthier skin? Contact us at SHAN Esthetics today to schedule your consultation and start your journey to radiant skin.